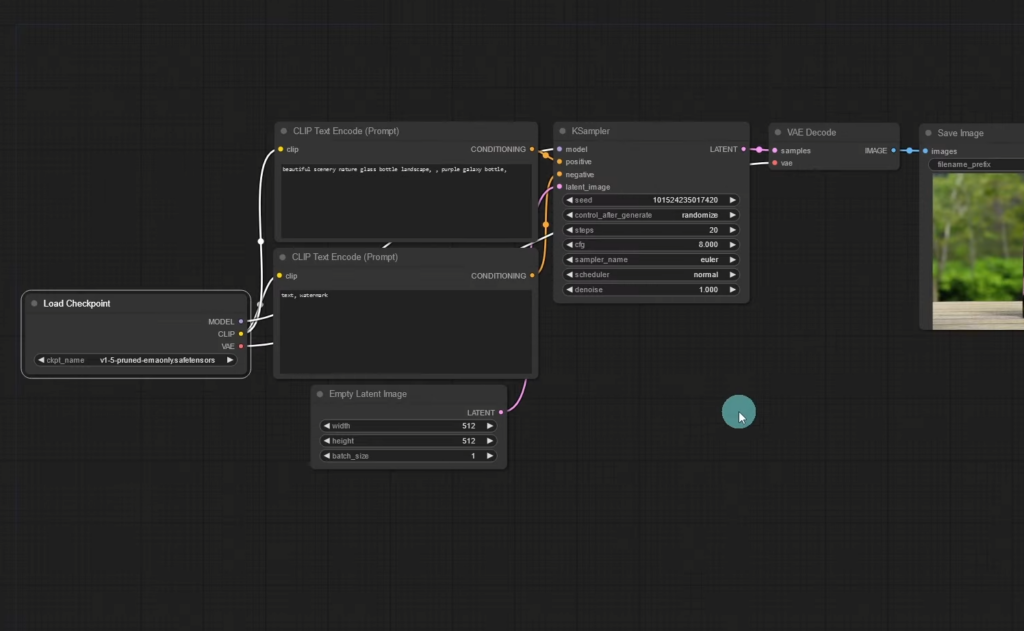
In today’s digital landscape, the right user interface (UI) can make a huge difference in how efficiently you use your computer. ComfyUI offers a blend of simplicity and powerful customization options, making it an ideal choice for both casual users and power users who want a streamlined and tailored experience. Whether you’re looking to enhance productivity, reduce clutter, or simply try something new, ComfyUI can transform your desktop environment. In this comprehensive guide, we will walk you through the entire process of installing ComfyUI on your PC, ensuring a smooth experience from start to finish.
In case you are interested in GPU hosting: Best ComfyUI Hosting with GPU
Table of Contents
How to Install ComfyUI on your PC
Section 1: System Requirements
Before installing ComfyUI, it’s important to make sure your PC is capable of running it effectively. Meeting the minimum system requirements is crucial to avoid performance issues, crashes, or installation failures.
Minimum System Requirements
Processor (CPU): Dual-core processor with a clock speed of at least 2 GHz.
Memory (RAM): 4 GB, though 8 GB is recommended for smoother performance.
Storage: 500 MB of free disk space for the installation files.
Operating System: Windows 10 or later, macOS 10.13 (High Sierra) or later, or a compatible Linux distribution such as Ubuntu 18.04 or later.
Graphics: Basic integrated graphics card that supports at least 1280×720 resolution.
Recommended System Requirements
Processor (CPU): Quad-core processor with a clock speed of 3 GHz or higher for optimal performance.
Memory (RAM): 8 GB or more to handle multiple applications and high-performance tasks.
Storage: At least 1 GB of free disk space, plus additional space for future updates and files.
Graphics: A dedicated GPU for enhanced visual performance and smoother animations.
Operating System: The latest version of your OS for the best compatibility and security features.
Meeting these requirements ensures that you can run ComfyUI efficiently without slowdowns or unexpected errors. If your system falls below the minimum specifications, you may still be able to use ComfyUI, but the experience might not be optimal.
Section 2: Preparing for Installation
To ensure a smooth installation, it’s important to prepare your PC. Taking a few simple steps beforehand can save time and prevent headaches later.
- Back Up Important Data: While installing ComfyUI should not affect your files, it’s always wise to back up important data. You can use built-in backup tools like Windows Backup, Time Machine on macOS, or third-party solutions like Acronis or Backblaze.
- Check Free Space: Double-check that your PC has sufficient storage space for the installation. Having extra space ensures that your system has room to operate without running into disk space issues.
- Update Your System and Drivers: Make sure your operating system is up to date, along with any relevant drivers (like graphics or network drivers). This can help prevent compatibility issues during installation. On Windows, go to Settings > Update & Security > Windows Update. For macOS, go to System Preferences > Software Update. On Linux, use your package manager (e.g., sudo apt update && sudo apt upgrade).
- Disable Antivirus Software Temporarily: Some antivirus programs can mistakenly flag new installers as malicious. Temporarily disable real-time protection or create an exception for the ComfyUI installer file to prevent interference.
- Close Unnecessary Applications: Shut down any non-essential applications to free up system resources, reduce the risk of conflicts, and speed up the installation process.
Section 3: Downloading ComfyUI
Once your PC is ready, it’s time to download ComfyUI. Follow these steps to get the latest version:
- Go to the Official Website: Visit the ComfyUI official website to ensure you’re downloading the legitimate version of the software. Avoid unofficial sites to prevent the risk of downloading malware or outdated versions.
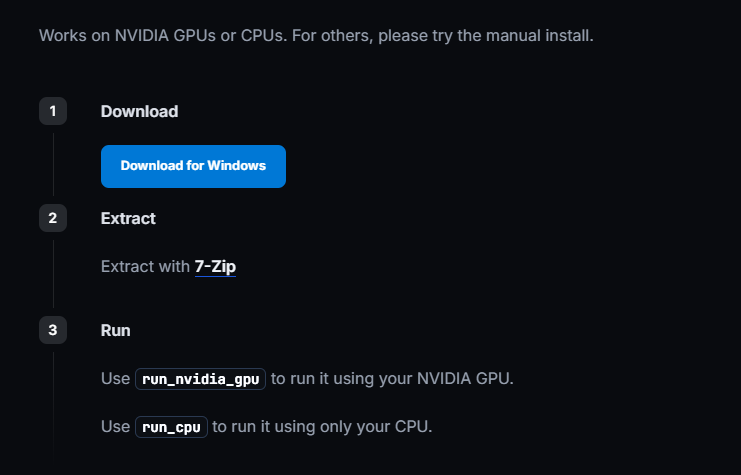
- Select Your Operating System: On the download page, choose the appropriate version for your operating system—Windows, macOS, or Linux. If you’re unsure which version to choose, look for the auto-detection feature or read the description provided next to each version.
- Click the Download Button: Once you’ve selected the correct version, click the download button. Depending on your internet speed, the download might take a few moments. A progress bar or download icon should appear in your browser to show the status.
- Verify the Download: After downloading, it’s important to verify the integrity of the file. Check the hash value (MD5 or SHA-256) provided on the website against the downloaded file using tools like CertUtil on Windows, shasum on macOS, or md5sum on Linux. This step ensures that the file has not been tampered with.


Section 4: Installing Git on Your PC
Before we install ComfyUI, you need to install Git.
- Visit the official Git website and download it for your platform.
- Open the downloaded file and click “Yes”.
- Follow the setup and install it on your PC.


Section 4: Installing ComfyUI on Your PC
Now that you have downloaded ComfyUI, follow these step-by-step instructions to install it on your PC.
For Windows
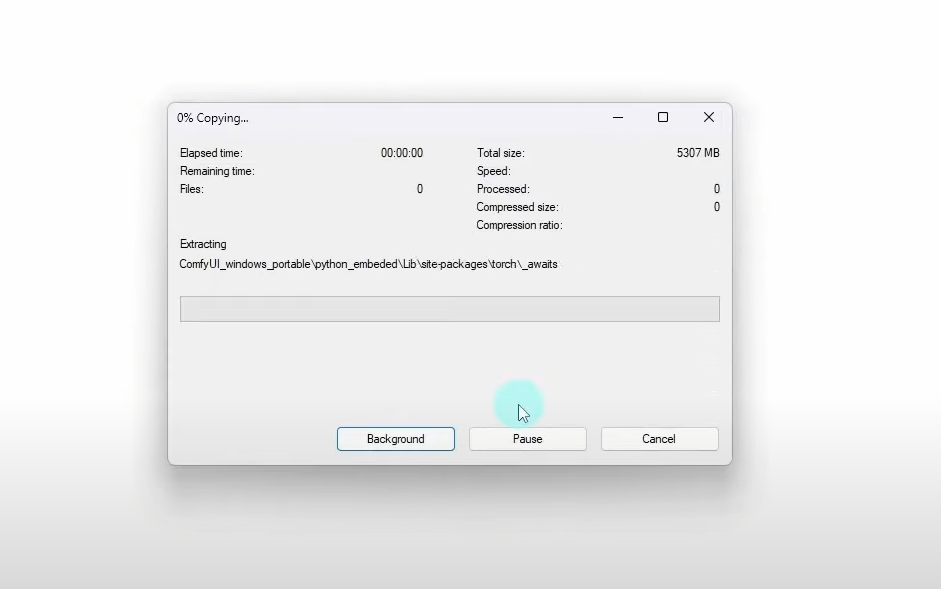
- Run the Installer: Navigate to the location where you downloaded the installer (usually the “Downloads” folder) and double-click on ComfyUI_Setup.exe.
- Follow the Setup Wizard: The installation wizard will guide you through each step. Click “Next” to proceed with the default settings or modify them as desired.
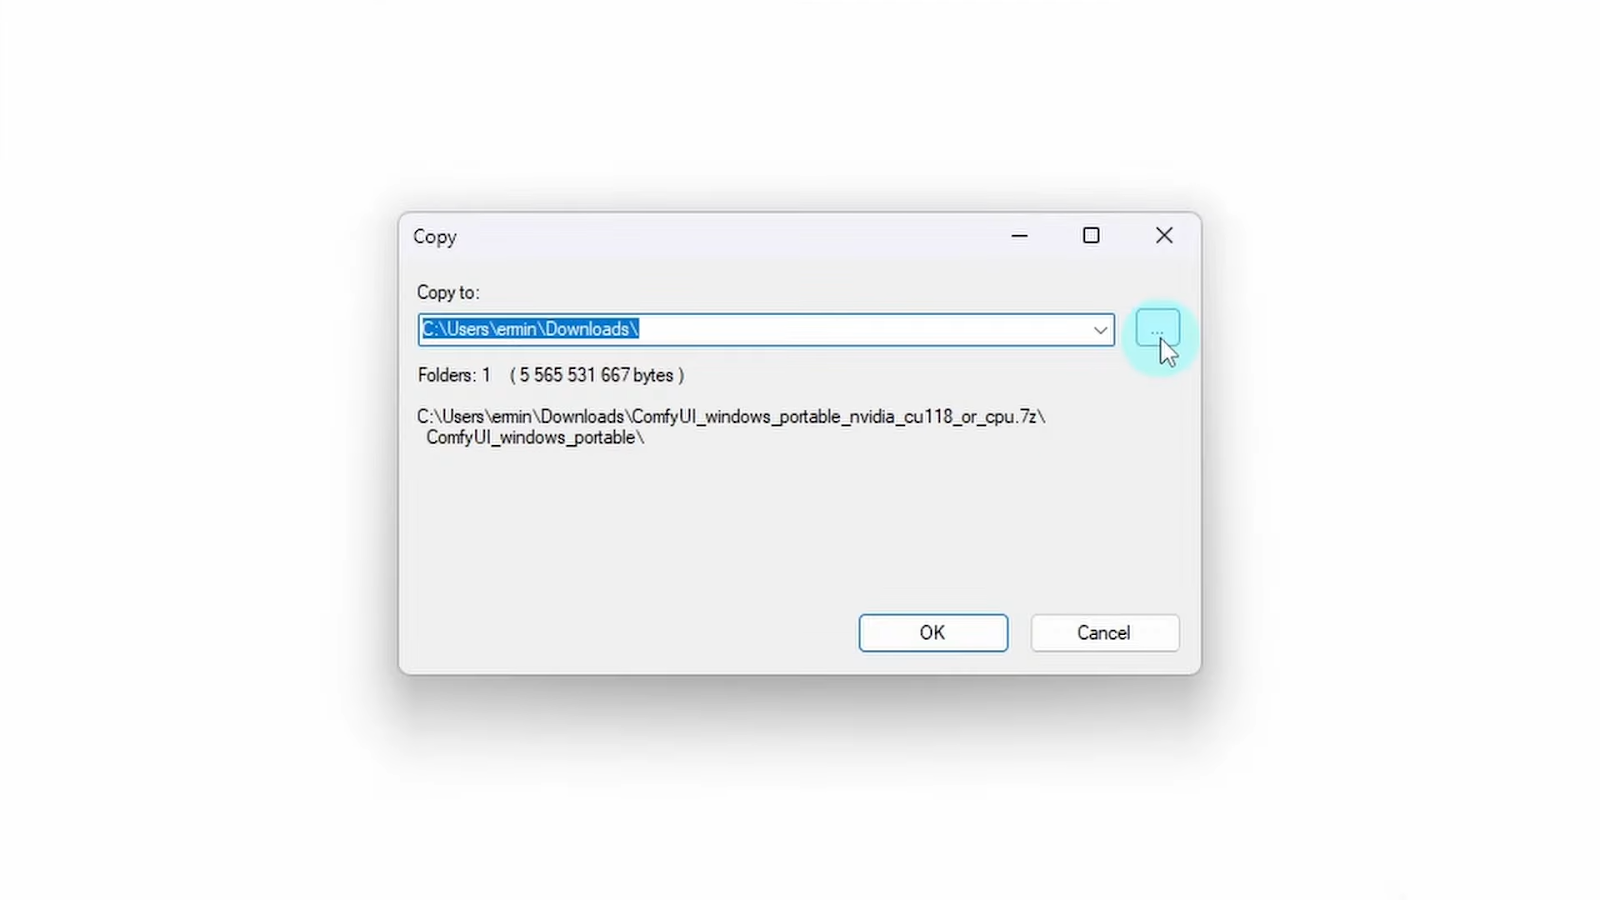
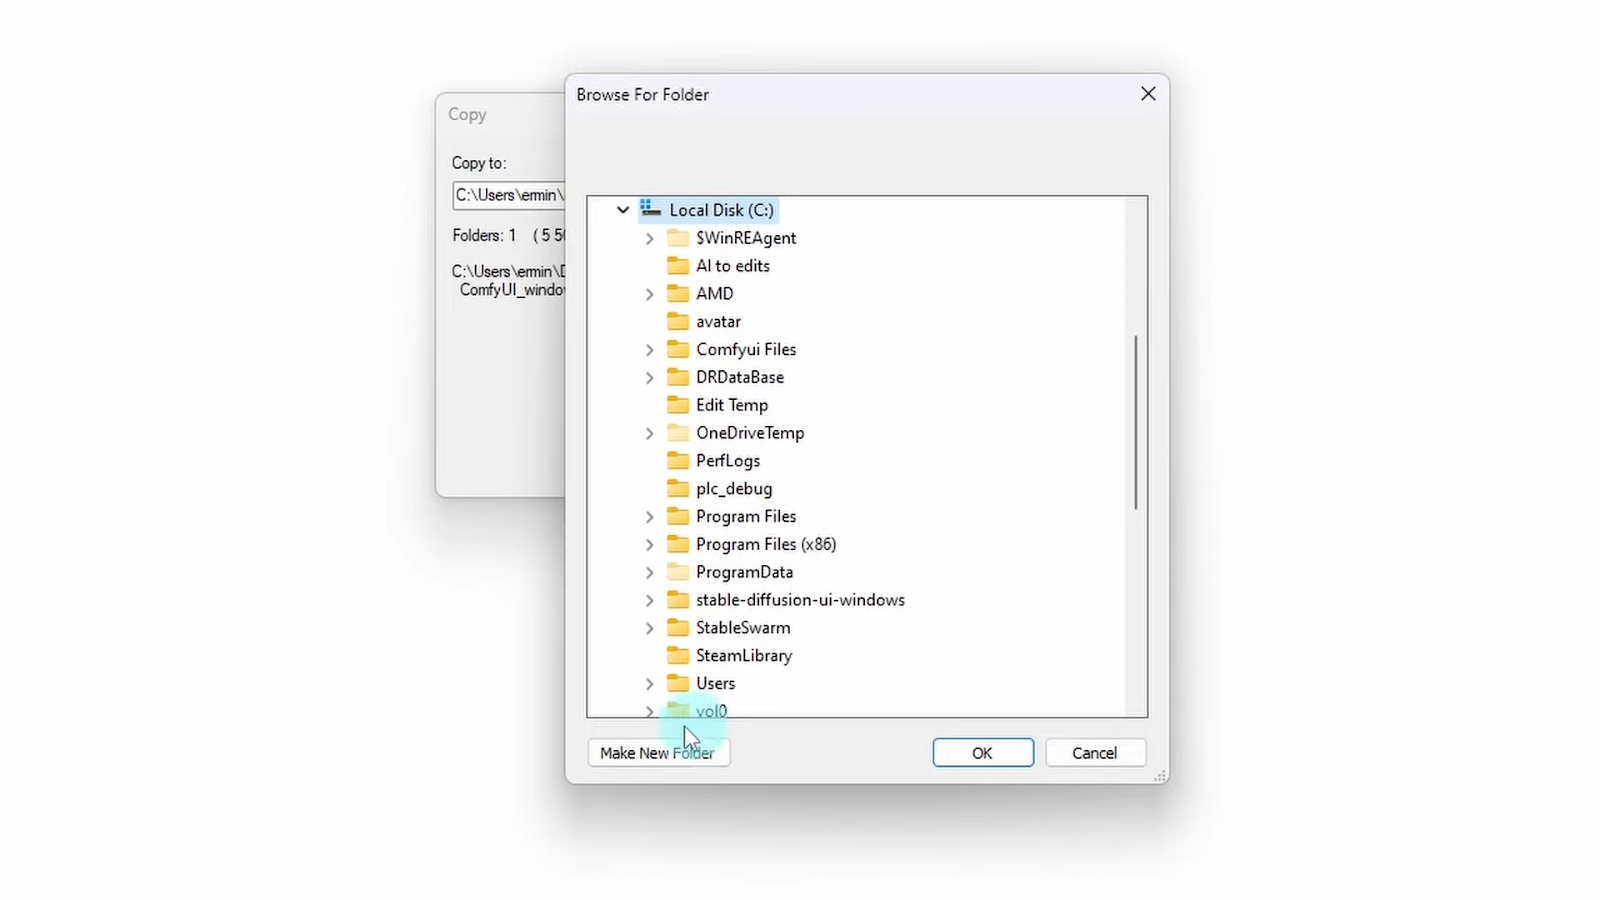
- Choose the Installation Location: By default, ComfyUI will be installed in the Program Files directory. You can change this if you prefer a different location. Ensure the selected drive has enough space.
- Start the Installation: Click “Install” to begin. The process should take a few minutes. Once complete, click “Finish” to exit the installer.

For macOS
- Open the Disk Image: Locate the downloaded .dmg file in your Downloads folder and double-click to open it.
- Drag and Drop to Applications: A window will appear showing the ComfyUI icon. Drag it to the “Applications” folder to install.
- Verify the Application: Open “System Preferences” > “Security & Privacy” > “General” and, if needed, click “Open Anyway” to allow ComfyUI to run.
- Launch the Application: Go to the “Applications” folder and double-click on ComfyUI to start the application.
For Linux
- Open Terminal: Press Ctrl + Alt + T or search for “Terminal” from your applications menu.
- Navigate to the Download Location: Use the cd command to go to the directory where the installer file is located. For example: “cd ~/Downloads”
- Make the Installer Executable: Grant the installer executable permissions: “chmod +x ComfyUI_Installer.run”
- Run the Installer: Execute the installer using: “./ComfyUI_Installer.run”
- Follow On-Screen Instructions: Follow the instructions in the terminal to complete the installation.
Section 5: Configuring ComfyUI After Installation
After installing ComfyUI, you’ll want to configure it to fit your preferences and needs. Here’s how:
- Launch ComfyUI: Open ComfyUI from your start menu, desktop, or applications folder.
- Initial Setup Wizard: The first time you open ComfyUI, you might be greeted by a setup wizard. Use this to set your default language, choose a theme, and configure basic settings like shortcuts and display preferences.
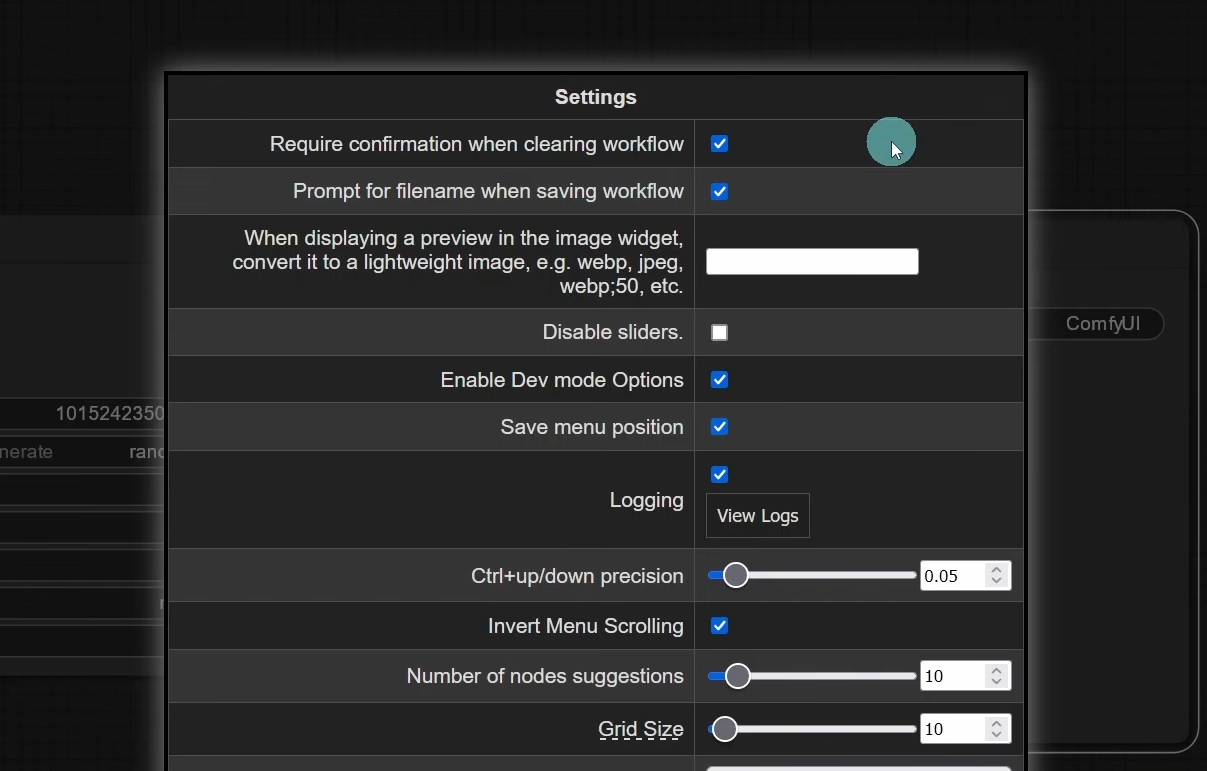
- Explore Settings and Customization Options: Visit the settings menu to explore various customization options, such as adjusting the taskbar, enabling or disabling specific UI elements, or changing the color scheme.
- Install Additional Plugins and Themes: ComfyUI offers a variety of plugins and themes that can be installed to enhance functionality. Visit the plugin store within the application or download compatible add-ons from third-party developers.

Section 6: Troubleshooting Common Issues
During installation or initial use, you might encounter some common issues. Here’s how to resolve them:
- Error During Installation: This might occur if the installer lacks necessary permissions or if there are system compatibility issues. Make sure your operating system is fully updated and that you are running the installer as an administrator.
- App Won’t Start or Crashes: Check for any software conflicts, such as outdated drivers or other UI customization tools. Consider reinstalling ComfyUI or disabling conflicting programs.
- Display Issues (Low Resolution or Incorrect Scaling): Go to the settings menu in ComfyUI to adjust display settings and scaling options. Ensure your graphics drivers are up-to-date.
- Permission Denied Errors (Linux): If you encounter permission errors, ensure you have executable permissions (chmod +x) and are running the installer with sudo if necessary.
Section 7: Tips for Optimizing ComfyUI Performance
To make the most of ComfyUI, consider these optimization tips:
- Keep ComfyUI Updated: Regularly check for updates to get the latest features, bug fixes, and security patches.
- Adjust Visual Settings: Disable any unnecessary animations or effects in the settings menu to improve performance, especially on lower-end systems.
- Limit Plugins and Add-Ons: Only use the plugins and themes you need to keep the system running smoothly. Too many add-ons can slow down performance.
- Monitor Resource Usage: Use a task manager to check if ComfyUI is using too many resources. You can adjust its priority or terminate unnecessary processes to improve performance.
- Clean Up Regularly: Periodically clear cache and temporary files to free up space and improve speed.
Conclusion
Installing ComfyUI on your PC can provide a fresh, efficient user experience with plenty of customization options. By following this guide, you can easily download, install, and configure ComfyUI to match your preferences and needs. Remember, there are plenty of resources available online if you run into issues, including user communities and support forums.
If you’ve successfully installed ComfyUI, let us know your thoughts in the comments below! Have any additional tips or tricks to share? Feel free to add them. Don’t forget to subscribe to our blog for more tech guides and updates on the latest tools and software.