Learning how to run Oobabooga can unlock a variety of functionalities for AI enthusiasts and developers alike. Oobabooga is a versatile platform designed to handle complex machine learning models, providing a user-friendly interface for running and managing AI projects. Whether you’re looking to experiment with natural language processing (NLP) models or develop machine learning applications, Oobabooga offers a streamlined way to manage your computational tasks.
Table of Contents
Why Use Oobabooga?
Oobabooga has gained traction in the AI community for its ability to simplify complex processes involved in running machine learning models. According to recent statistics, the global AI software market is expected to grow by 54% annually, reaching a valuation of over $126 billion by 2025 (Source). As AI becomes more prevalent, tools like Oobabooga make it easier for developers and researchers to deploy and manage their models without getting bogged down by intricate setup procedures. With its user-friendly interface and extensive feature set, Oobabooga helps bridge the gap between complex AI frameworks and practical, user-friendly applications.
How to Run Oobabooga: Step-by-Step Guide
Step 1: System Requirements
Before you begin, it’s essential to ensure your system meets the necessary requirements to run Oobabooga smoothly.
- Operating System: Oobabooga can be installed on Windows, macOS, and Linux. Make sure your OS is up-to-date to avoid compatibility issues.
- Hardware: For optimal performance, it’s recommended to have at least 8GB of RAM and a multi-core CPU. If you plan to use Oobabooga for heavy computations, a GPU with CUDA support is ideal.
- Python: Oobabooga requires Python 3.7 or higher. Ensure Python is installed on your system and properly configured.
Step 2: Download and Install Python
The first step in running Oobabooga is installing Python, as it’s required to execute the platform’s scripts.
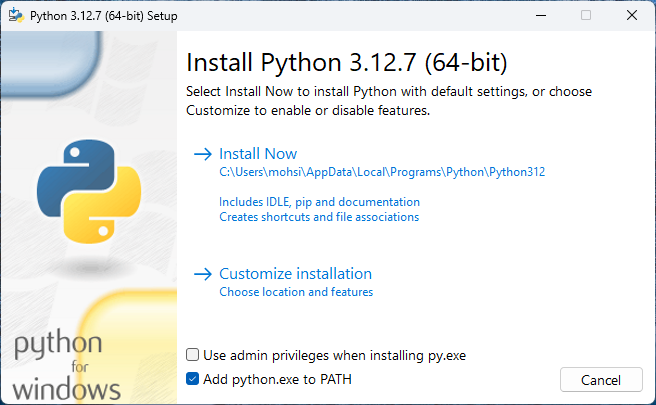
- Download Python: Visit the official Python website and download the latest version compatible with your OS.
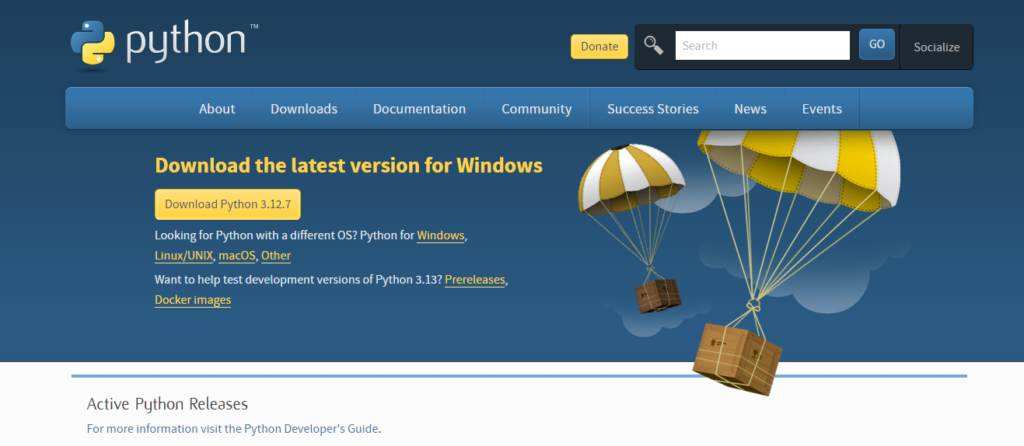
2. Install Python: During installation, make sure to check the box that says “Add Python to PATH.” This will allow you to run Python from the command line.
3. Verify Python Installation: Open the Command Prompt (or Terminal on macOS/Linux) and type: “python –version”.
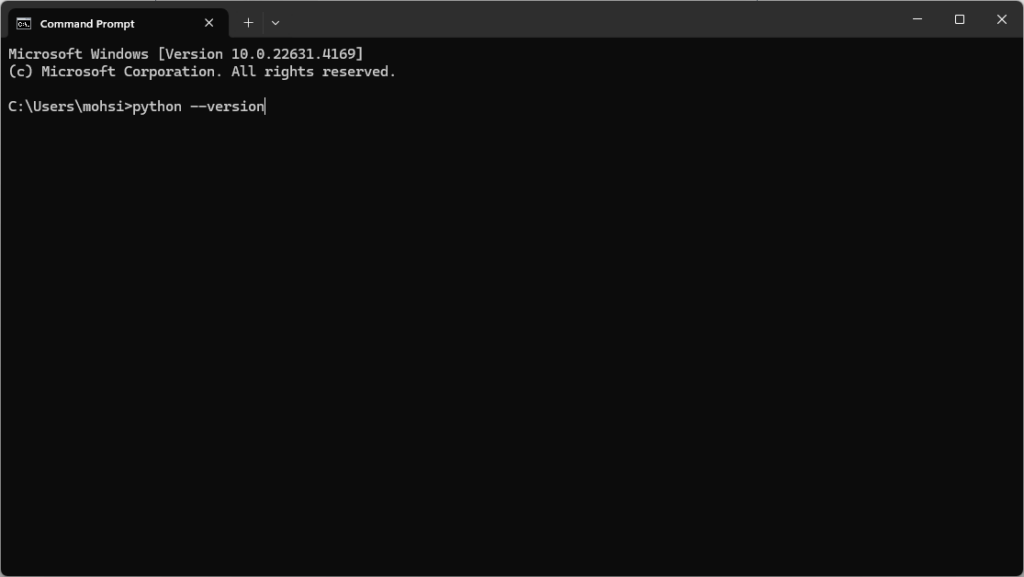
You should see the installed version number. If not, there might be an issue with the installation process.
Step 3: Clone the Oobabooga Repository
To get started with Oobabooga, you’ll need to download the software from its GitHub repository.
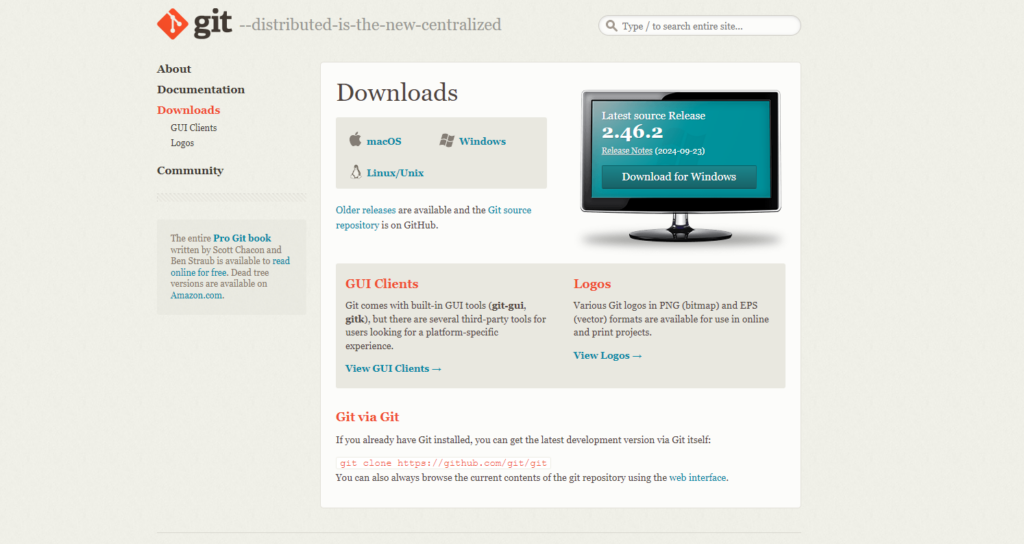
- Install Git: If you don’t have Git installed, you can download it from the official Git website. Follow the installation instructions for your operating system.
2. Clone the Repository: Open your command line interface and navigate to the directory where you want to store the Oobabooga files. Then, execute the following command: “git clone https://github.com/oobabooga/oobabooga.git”.

This command will download all the necessary files to your local machine.
Step 4: Setting Up a Virtual Environment
Creating a virtual environment is a good practice to keep your project dependencies isolated.
- Navigate to the Oobabooga Directory: “cd oobabooga”
- Create a Virtual Environment: “python -m venv oobabooga_env”
- Activate the Virtual Environment:
On Windows: “oobabooga_env\Scripts\activate”
On macOS/Linux: “source oobabooga_env/bin/activate”
Once activated, your command line should indicate that you’re in the virtual environment.
Step 5: Install Dependencies
With your virtual environment set up, it’s time to install the necessary dependencies for running Oobabooga.
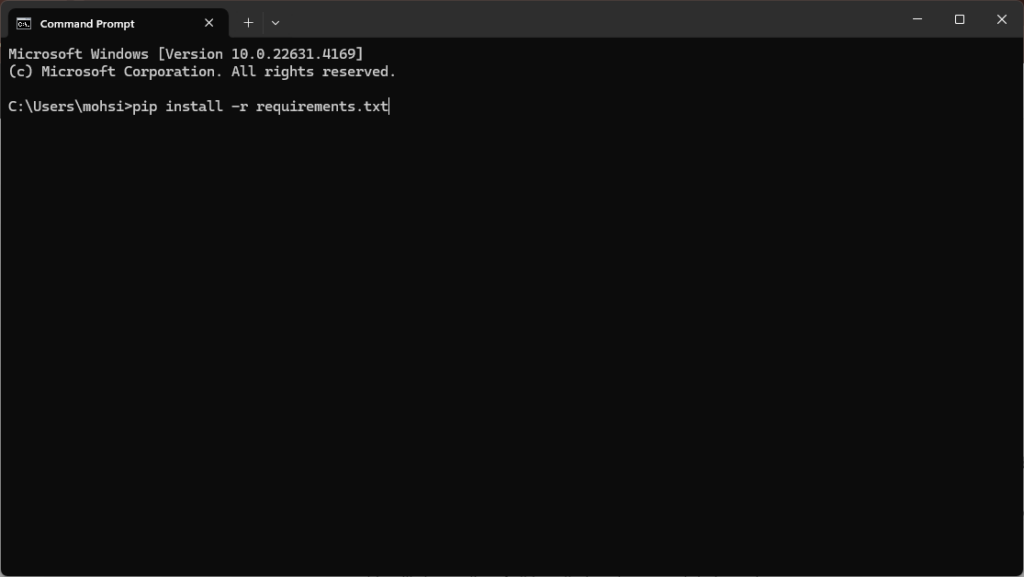
- Install Required Libraries: “pip install -r requirements.txt”. This command will install all the packages listed in the requirements.txt file.
- Verify Installation: Check if all dependencies are installed correctly by running: “pip list”
This will show a list of all installed packages and their versions.
Step 6: Configuring Oobabooga
Before running Oobabooga, you may need to adjust some configuration settings to suit your specific use case.
- Edit the Configuration File: Open the config.yaml file located in the Oobabooga directory. You can use any text editor to modify this file.
- Adjust Parameters: Depending on your application, you can modify parameters like batch size, learning rate, or GPU settings. If you’re unsure what to change, the default settings should work for most use cases.
Step 7: Running Oobabooga for the First Time
You’re now ready to run Oobabooga for the first time!
- Launch the Application: “python oobabooga.py”.
This will start the Oobabooga application, and you should see a confirmation message in your command line indicating that the server is running. - Access the Web Interface: Open your web browser and go to “http://localhost:5000” to access the Oobabooga interface. Here, you can interact with your models, run experiments, and monitor performance.
Step 8: Using Oobabooga for Machine Learning Tasks
Oobabooga offers various features that simplify the process of running machine learning models. Here’s a quick overview of some of the key functionalities:
- Model Training: Use the “Training” tab in the web interface to train your machine learning models. You can upload datasets, choose algorithms, and monitor training progress in real-time.
- Inference: After training, you can use the “Inference” tab to test your model with new data inputs. Oobabooga will generate predictions based on your trained model.
- Evaluation: The platform provides tools for evaluating your model’s performance. Use metrics like accuracy, precision, and recall to measure how well your model is performing.
Step 9: Fine-Tuning and Optimization
To get the most out of Oobabooga, you may want to fine-tune your models and optimize their performance.
- Hyperparameter Tuning: Use the “Hyperparameters” section to tweak settings like learning rate, epochs, and batch size. This can significantly impact your model’s performance.
- Cross-Validation: Implement cross-validation techniques available in the platform to ensure your model generalizes well to unseen data.
- Model Export: Once you’re satisfied with your model’s performance, you can export it in various formats for deployment in other applications.
Troubleshooting Common Issues
While running Oobabooga is generally straightforward, you may encounter some common issues. Here are solutions to a few of them:
Issue 1: Virtual Environment Not Activating
If you can’t activate your virtual environment, ensure you’re in the correct directory and that the environment was created successfully. Reinstall Python or the virtual environment if necessary.
Issue 2: Missing Dependencies
If Oobabooga fails to start due to missing dependencies, run the following command: “pip install -r requirements.txt”
This will reinstall any missing packages.
Issue 3: Server Not Starting
If the Oobabooga server doesn’t start, check for port conflicts. Another application may be using the default port 5000. You can change the port number in the config.yaml file or stop the conflicting application.
Use Cases for Oobabooga
Oobabooga is a versatile platform that supports a wide range of machine learning applications. Here are some practical use cases:
1. Natural Language Processing (NLP)
Researchers and developers can use Oobabooga to run NLP models for tasks such as text classification, sentiment analysis, and language translation. The platform supports integration with popular NLP libraries like NLTK and SpaCy, making it easier to preprocess text data and train models.
2. Computer Vision
Oobabooga can be used for various computer vision tasks, including image classification, object detection, and facial recognition. By leveraging pre-trained models and transfer learning techniques, you can quickly set up and train custom vision models.
3. Data Analysis and Visualization
For data scientists, Oobabooga offers tools for data analysis and visualization. You can easily import datasets, perform exploratory data analysis (EDA), and visualize trends and patterns using built-in plotting libraries.
4. Education and Training
Oobabooga is also a valuable tool for educators and students. It provides an intuitive interface for learning about machine learning concepts and experimenting with different algorithms without the need for extensive coding skills.
Advanced Features and Tips for Using Oobabooga
Once you’re comfortable with the basics, you can explore some of the more advanced features Oobabooga has to offer:
1. Distributed Training
Oobabooga supports distributed training, allowing you to train large models across multiple GPUs or even multiple machines. This can significantly speed up the training process for resource-intensive tasks.
2. Automated Hyperparameter Tuning
Use the platform’s automated hyperparameter tuning capabilities to optimize your models without manually adjusting each parameter. This can save time and help you achieve better results faster.
3. Model Versioning
Oobabooga supports model versioning, allowing you to keep track of different versions of your models and experiment with changes without losing your progress.
4. API Integration
For developers looking to integrate Oobabooga with other applications, the platform provides a robust API. You can use this API to programmatically control your models, run inferences, and access results.
Related Resources and Further Reading
To further enhance your understanding of how to run Oobabooga and explore its capabilities, check out these additional resources:
- Oobabooga GitHub Repository: The official repository for source code and documentation.
- Oobabooga Documentation: Comprehensive documentation covering installation, usage, and advanced features.
- Oobabooga Community Forum: A place to ask questions, share ideas, and get support from other users.
Conclusion
Understanding how to run Oobabooga can significantly enhance your ability to work with machine learning models, regardless of your level of expertise. The platform’s intuitive interface, robust features, and extensive documentation make it an excellent choice for both beginners and advanced users. By following the steps outlined in this guide, you’ll be well-equipped to leverage the full potential of Oobabooga for your AI and machine-learning projects.