

This guide shows how to install Automatic1111 (Stable Diffusion WebUI) on Windows step by step in 2026, from installing Python and Git to generating your first image.

Table of Contents
Requirements
- Windows 10 or 11 (64-bit)
- NVIDIA GPU with 6 GB+ VRAM (12–24 GB recommended)
- 16 GB RAM, 20 GB+ free SSD space
Step 1: Install Python 3.10.6
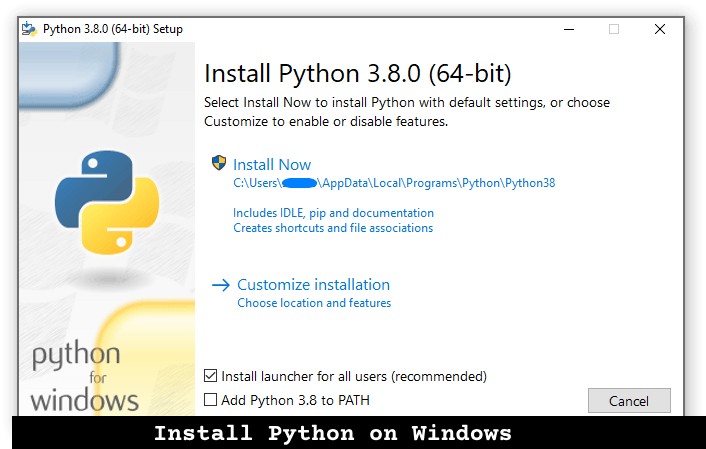
Automatic1111 works best with Python 3.10.6. Download it from python.org and tick Add Python to PATH during installation.
Step 2: Install Git
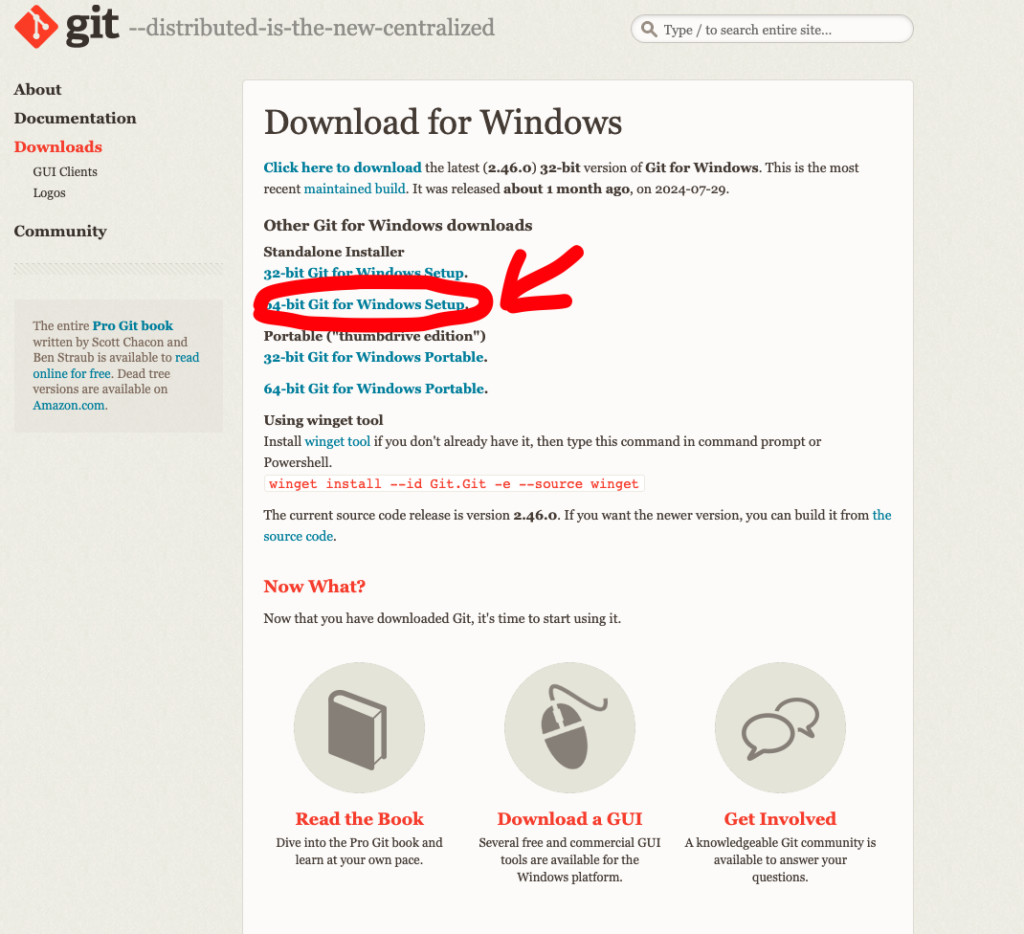
Download Git for Windows from git-scm.com and install it with default options.
Step 3: Download Automatic1111
cd %USERPROFILE%
git clone https://github.com/AUTOMATIC1111/stable-diffusion-webui
Step 4: Download a Model
Download a checkpoint (.safetensors) such as SDXL base from Hugging Face or Civitai and put it in stable-diffusion-webui\models\Stable-diffusion.
Step 5: Run It
cd stable-diffusion-webui
webui-user.bat
The first launch installs dependencies (this takes a while). Then open http://127.0.0.1:7860 in your browser.
Step 6: Optimize
Edit webui-user.bat and set COMMANDLINE_ARGS=--xformers for speed, or --medvram / --lowvram on smaller GPUs.
No Good GPU? Use the Cloud
No powerful GPU at home? You can run Automatic1111 on a rented GPU server instead. RunPod’s Stable Diffusion WebUI template runs on an RTX 4090 for $0.34/hour. For a fixed monthly price, GPU Mart (RTX A4000 VPS from $119/month, RTX 4090 $409/month) and HOSTKEY (RTX 4090 from €279/month) offer dedicated servers you can keep running 24/7.
FAQ
Automatic1111’s dependencies are tested against Python 3.10; newer versions often fail to install.
Use the DirectML fork or Linux with ROCm, or consider ComfyUI which has better AMD support.
Conclusion
With Python 3.10.6, Git and one command, Automatic1111 runs on Windows in minutes. For FLUX and newer models, also try ComfyUI.