
Stable Diffusion is an AI-driven tool that has revolutionized image generation by creating photorealistic visuals based on simple text prompts. It’s popular among artists, designers, and enthusiasts who want to harness the power of AI to generate creative visuals, without needing in-depth programming knowledge. If you’re curious about how to install Stable Diffusion on PC, this detailed guide will walk you through the entire process, covering everything from system requirements for Stable Diffusion to troubleshooting installation issues.
In this guide, we will break down the installation process and provide easy-to-follow steps to get Stable Diffusion running on your Windows machine.
Table of Contents
System Requirements for Stable Diffusion
Before you begin, you need to ensure that your PC can handle the demands of Stable Diffusion. Running this AI tool requires substantial hardware resources, especially when generating high-quality images. Here’s a breakdown of the basic and recommended specifications:
- Operating System: Windows 10 or higher
- CPU: A modern x86-64 compatible CPU (Intel or AMD, quad-core or better is recommended)
- RAM: At least 8 GB of RAM (16 GB or higher is preferred for better performance)
- GPU: NVIDIA graphics card with CUDA support and at least 6 GB of VRAM (a card with 10+ GB of VRAM is highly recommended for smoother rendering and faster generation times)
- Storage: Around 10 GB of free storage space for installation, plus more for model checkpoints and output files
If your hardware doesn’t meet these requirements, especially when it comes to the GPU, you might face slow performance or may not be able to run Stable Diffusion at all. For those without powerful GPUs, cloud services like Google Colab or RunPod can offer an alternative solution.
Stable Diffusion Installation Steps
Step 1: Install Python
To run Stable Diffusion on your PC, you will need Python, a programming language that the application relies on. Here’s how to go about Python installation for Stable Diffusion:
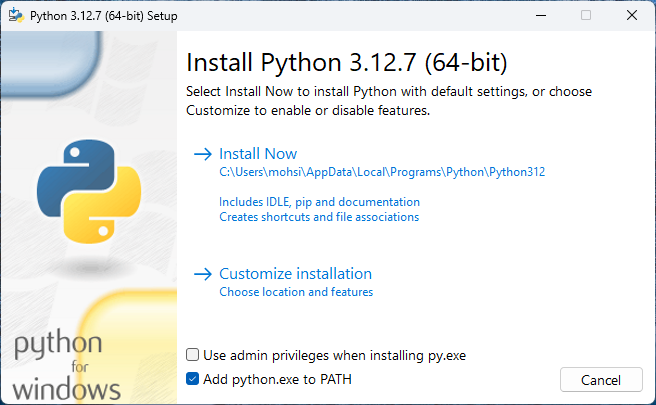
- Visit the Python official website and download Python version 3.8 or later.
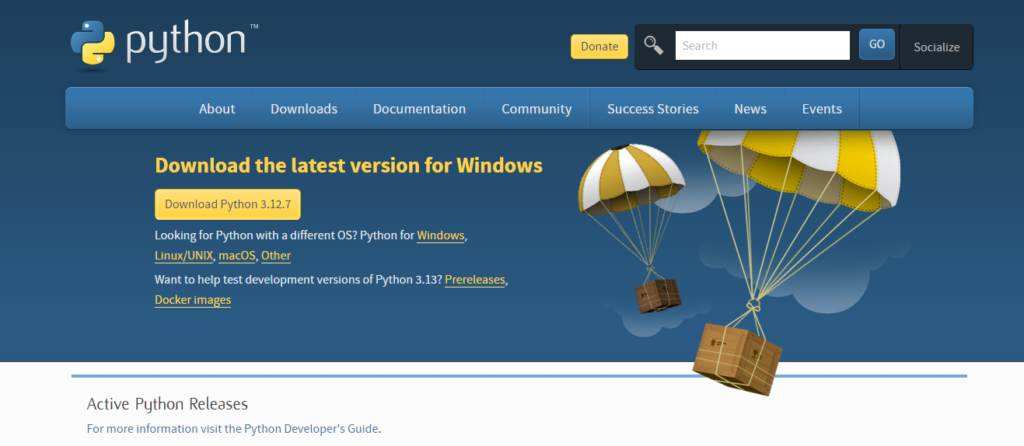
2. During installation, be sure to check the box that says Add Python to PATH. This step is crucial as it allows Python commands to be executed directly from the command line.
3. Once Python is installed, you can verify it by opening a Command Prompt window and typing: “python –version”
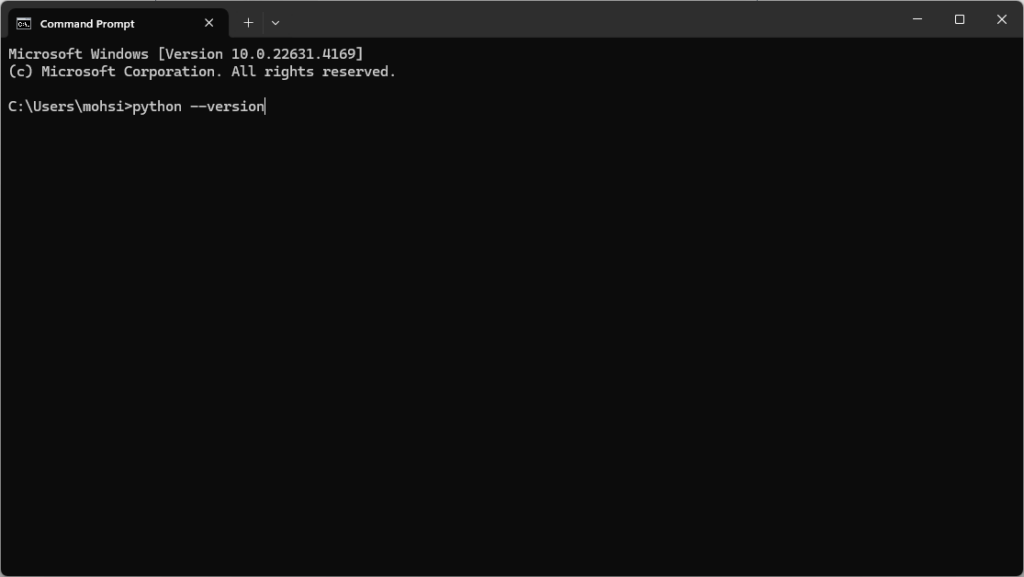
If everything is set up correctly, you should see the installed version number.
Python is central to the functioning of Stable Diffusion, so make sure this step is done properly. If any errors occur, uninstall Python and reinstall it, ensuring that the Add to PATH option is selected.
Step 2: Install Git
Git is a version control system that will help you download and manage Stable Diffusion’s source code from GitHub. Here’s how to handle Git setup for Stable Diffusion:
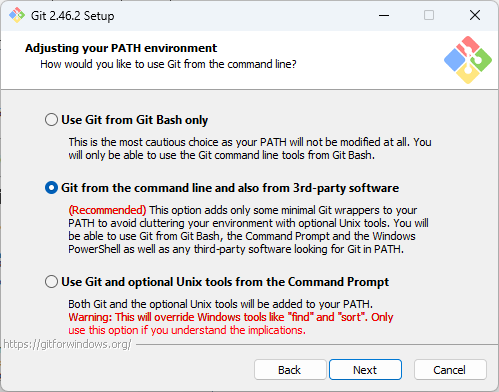
- Head over to the Git download page and download the appropriate version for Windows.

2. Follow the installation prompts.
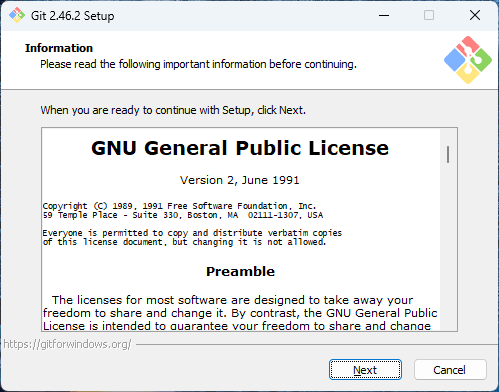
3. During the setup, choose the option that allows Git to be used from the command line or Windows Command Prompt.
4. After installation, confirm that Git is working by typing: “git –version”.
In your Command Prompt. If Git was installed correctly, the version number should be displayed.
Step 3: Clone the Stable Diffusion Repository
Now that you have Python and Git set up, the next step is to download the Stable Diffusion repository from GitHub. To do this:
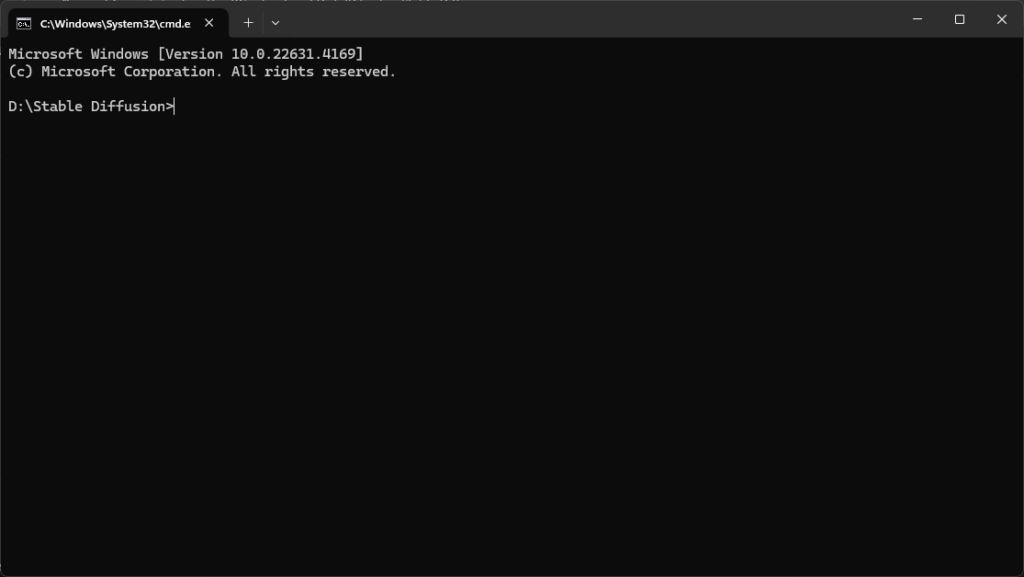
- Open your Command Prompt and navigate to the directory where you want to install Stable Diffusion.
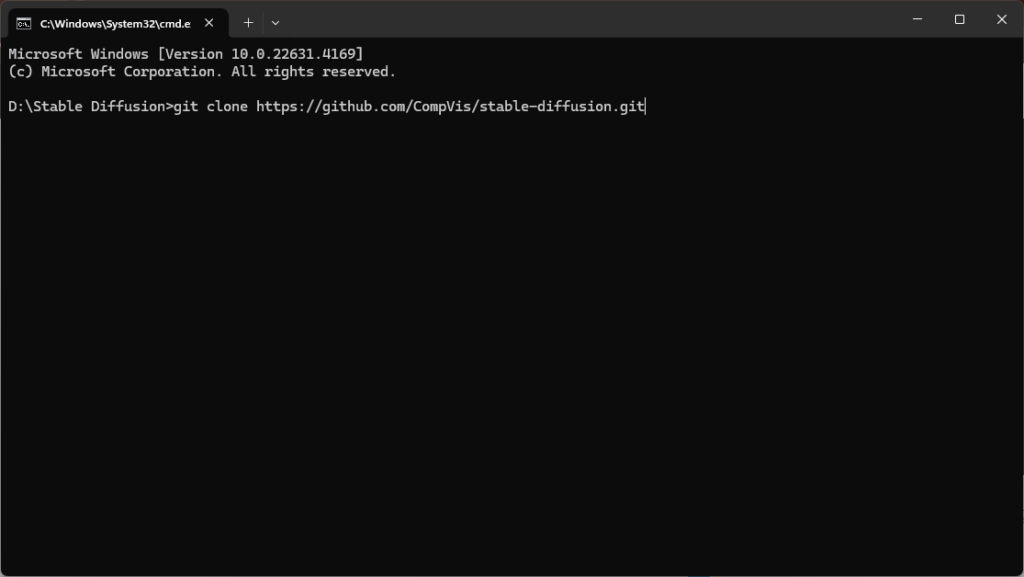
2. Run the following Git command to clone the repository: “git clone https://github.com/CompVis/stable-diffusion.git”
This will download all necessary files into a folder named “stable-diffusion”.
The cloning process may take a while, depending on your internet speed, as the repository contains several large files.
Step 4: Install Dependencies
Once the repository is cloned, the next step involves installing dependencies, which are the libraries and packages that Stable Diffusion requires to function.
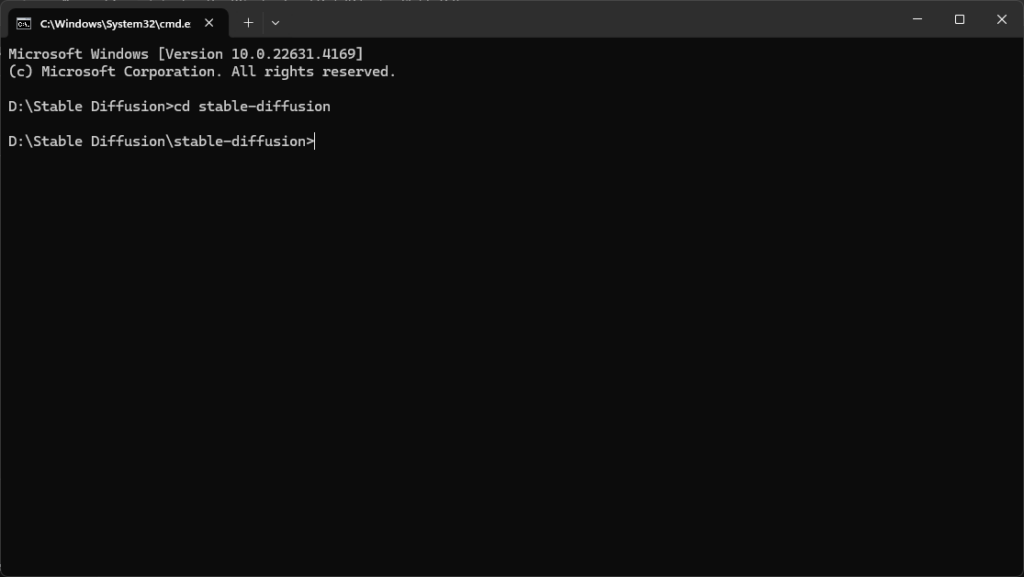
- Navigate to the stable-diffusion directory in the Command Prompt: “cd stable-diffusion”
2. Run the following command to install the necessary Python libraries: “pip install -r requirements.txt”
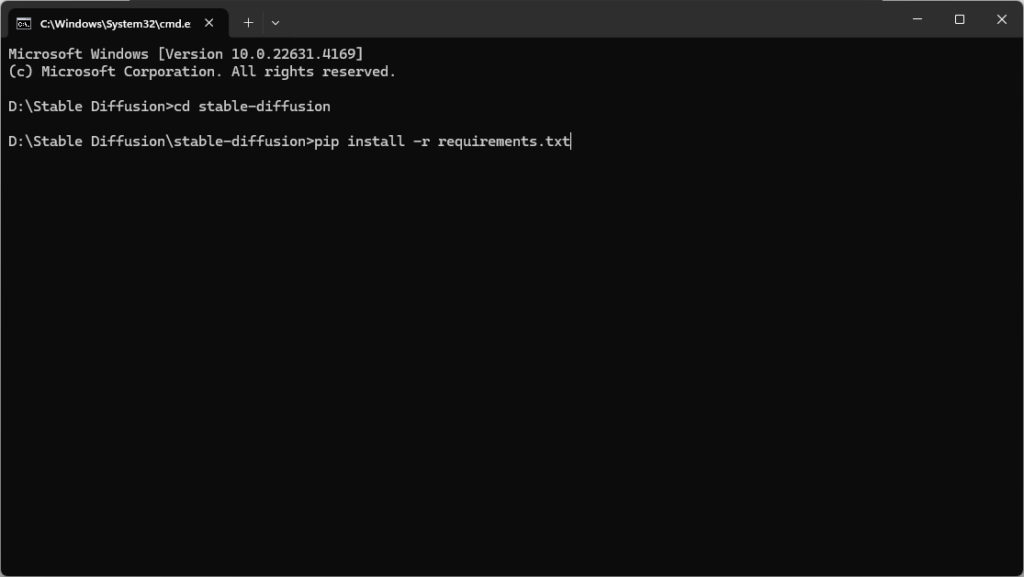
The requirements.txt file contains all the dependencies that Stable Diffusion needs. If the installation fails at this step, make sure you have the latest version of pip installed by running: “python -m pip install –upgrade pip”
Step 5: Download the Stable Diffusion Model Files
Stable Diffusion uses pre-trained model files (also called checkpoints) to generate images. You need to download these models and place them in the correct folder. Here’s how:
- Visit Hugging Face’s repository for Stable Diffusion to download the model checkpoints. You may need to create a free account to access the files.
- Once downloaded, move the .ckpt file to the “models/ldm/stable-diffusion-v1/” directory within the stable-diffusion folder.
Step 6: Running Stable Diffusion on Windows
Once everything is in place, you can now generate images using Stable Diffusion. Here’s how you can do that:
- Open the Command Prompt and navigate to the stable-diffusion directory.
- Run the following command to generate an image based on a text prompt: “python scripts/txt2img.py –prompt “a futuristic city” –plms”
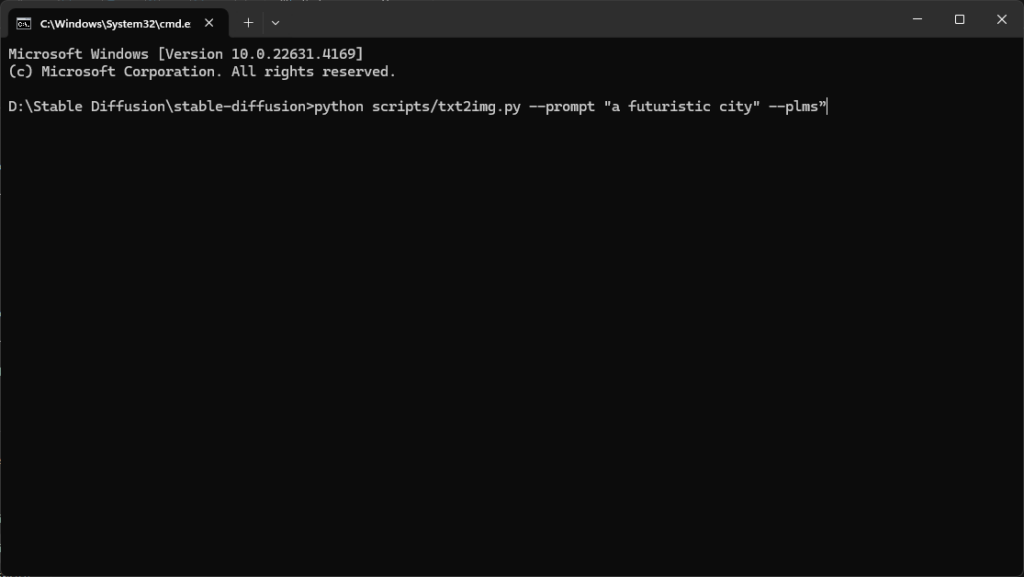
This command tells Stable Diffusion to generate an image based on the provided text prompt, “a futuristic city,” using the PLMS (a sampling method for faster results). The generated image will be saved in the outputs folder.
Stable Diffusion Web UI Setup
If using the command line seems intimidating or you prefer a visual interface, setting up a Web UI for Stable Diffusion is a great alternative. Here’s how to do it:
- Install Gradio, a library that provides a web-based interface for machine learning models: “pip install gradio”
- Modify the txt2img.py script to integrate with Gradio’s Web UI.
- After setup, run the following command to launch the Gradio interface: “python app.py”
You will then be able to access the Stable Diffusion interface via your web browser, making it easier to generate and tweak images.
Troubleshooting Stable Diffusion Installation
If you encounter issues while installing or running Stable Diffusion, here are some common problems and their solutions:
- Python not recognized: Ensure that you have added Python to your system PATH during installation. Reinstall Python if needed, and make sure the PATH option is selected.
- Out of memory errors: This is usually caused by insufficient VRAM on your GPU. Try lowering the resolution of the generated images or use a cloud service with better GPU resources.
- Missing Git or Python commands: Ensure both Python and Git are installed correctly and that they are accessible from the command line. Running git –version or python –version should confirm that.
If these don’t solve your issue, consulting the Stable Diffusion GitHub page or online forums can provide additional help.
Using Command Prompt for Stable Diffusion
The Command Prompt is a powerful tool when using Stable Diffusion, as it allows you to directly run scripts and commands. Make sure you’re familiar with basic navigation in the command line, such as:
- cd directory_name to change directories
- python script_name.py to run Python scripts
For beginners, using the Stable Diffusion Web UI setup can simplify the process if the command line is daunting.
GPU Requirements for Stable Diffusion
Stable Diffusion is highly GPU-dependent, and a capable GPU is crucial for generating high-resolution images. Here are some key points regarding GPU requirements for Stable Diffusion:
- Minimum GPU: NVIDIA GPUs with 6 GB VRAM (e.g., GTX 1660, RTX 2060) can run Stable Diffusion, though at slower speeds and lower resolutions.
- Recommended GPU: NVIDIA GPUs with 10 GB or more VRAM (e.g., RTX 3080, RTX 3090) offer faster performance and the ability to generate higher-quality images without running out of memory.
If your system doesn’t meet the GPU requirements, consider using Google Colab or other cloud-based platforms to run Stable Diffusion remotely.
Alternative Installation Methods for Stable Diffusion
If you’re facing difficulties with the manual installation process, there are alternative ways to install and run Stable Diffusion:
- Google Colab: This is a free cloud-based platform that allows you to run Python scripts using Google’s powerful GPUs. Many pre-configured notebooks for Stable Diffusion are available, which makes setup easy.
- RunPod: RunPod allows you to rent virtual machines with high-end GPUs for running AI models. It’s a good choice if you want more control and faster results without relying on your local hardware.
- Docker: For users familiar with containers, Stable Diffusion can be run in a Docker environment, providing an isolated and pre-configured setup.
These alternatives are helpful if your PC doesn’t meet the hardware requirements or if you want a simpler installation process.
Updating Stable Diffusion Software
Stable Diffusion is actively developed, so keeping your installation up to date is important. To update:
- Open Command Prompt and navigate to the Stable Diffusion directory.
- Run the following Git command to pull the latest updates: “git pull”
- Once updated, reinstall the dependencies if needed: “pip install -r requirements.txt”
This ensures that your Stable Diffusion installation is always equipped with the latest features and performance improvements.
FAQs
What are the minimum system requirements for Stable Diffusion?
The minimum requirements include at least 8 GB of RAM, an NVIDIA GPU with 6 GB of VRAM, and a modern x86-64 compatible CPU. For better performance, 16 GB of RAM and a GPU with 10 GB or more VRAM is recommended.
Do I need a powerful GPU for Stable Diffusion?
Yes, Stable Diffusion is highly dependent on GPU performance. An NVIDIA GPU with at least 6 GB of VRAM is necessary to run the software efficiently. If you have a less powerful GPU, you can still generate images, but they will be processed slower, and at lower resolutions.
Can I install Stable Diffusion on a Mac?
Yes, it is possible to install Stable Diffusion on a Mac. However, the process can be more complex due to macOS’s compatibility with certain dependencies. It may also require the use of M1/M2 optimized libraries if you are using a newer MacBook. Alternatively, cloud services like Google Colab can help you avoid the complexity of local installation on a Mac.
What should I do if I encounter memory issues while running Stable Diffusion?
Memory issues are commonly caused by running out of VRAM. To mitigate this, try reducing the resolution of the images being generated or use a less memory-intensive configuration. Alternatively, running Stable Diffusion on a cloud platform with a powerful GPU can eliminate these issues.
Similar Articles
How To install Automatic1111 on Windows
How to Install Textgen WebUI (Guide)
Conclusion
Installing Stable Diffusion on a PC might seem daunting, but following this detailed guide will help you avoid common pitfalls. From ensuring your system meets the hardware requirements to Python installation for Stable Diffusion, and setting up a Stable Diffusion Web UI, you can begin generating AI-based artwork in no time.
Whether you’re using it for professional work or just for fun, Stable Diffusion is a remarkable tool that can create stunning visuals with minimal input. Once installed, this AI-powered software will open up a world of creative possibilities, allowing you to produce unique and high-quality images tailored to your specific needs.